


Learning how to take photos for Amazon takes more time and patience than taking photos for eBay. Amazon has stricter requirements to create a more professional and uniform look to their listings. However, you don’t need to hire a pro to do all your product photography for Amazon—you just need to have the right equipment and know-how.
Let’s start with what befuddles most sellers the first time they tried to upload a photo: the white background for the main photo.
Last updated 3/4/2021.
Learn How to Take Pictures with a White Background for Amazon
Reality has shades, tints, and shadows. Amazon does not want reality. It wants a 100% pure white background, RGB 255, 255, 255. That’s not just paper white, it’s computer screen white.
That will virtually always require some computer manipulation to remove the background. If you’re not a Photoshop wiz and don’t want to invest in $400+ photo editing software, you can get great results with websites like Clipping Magic. They’re not free, but they are effective, easy to use, and affordable.
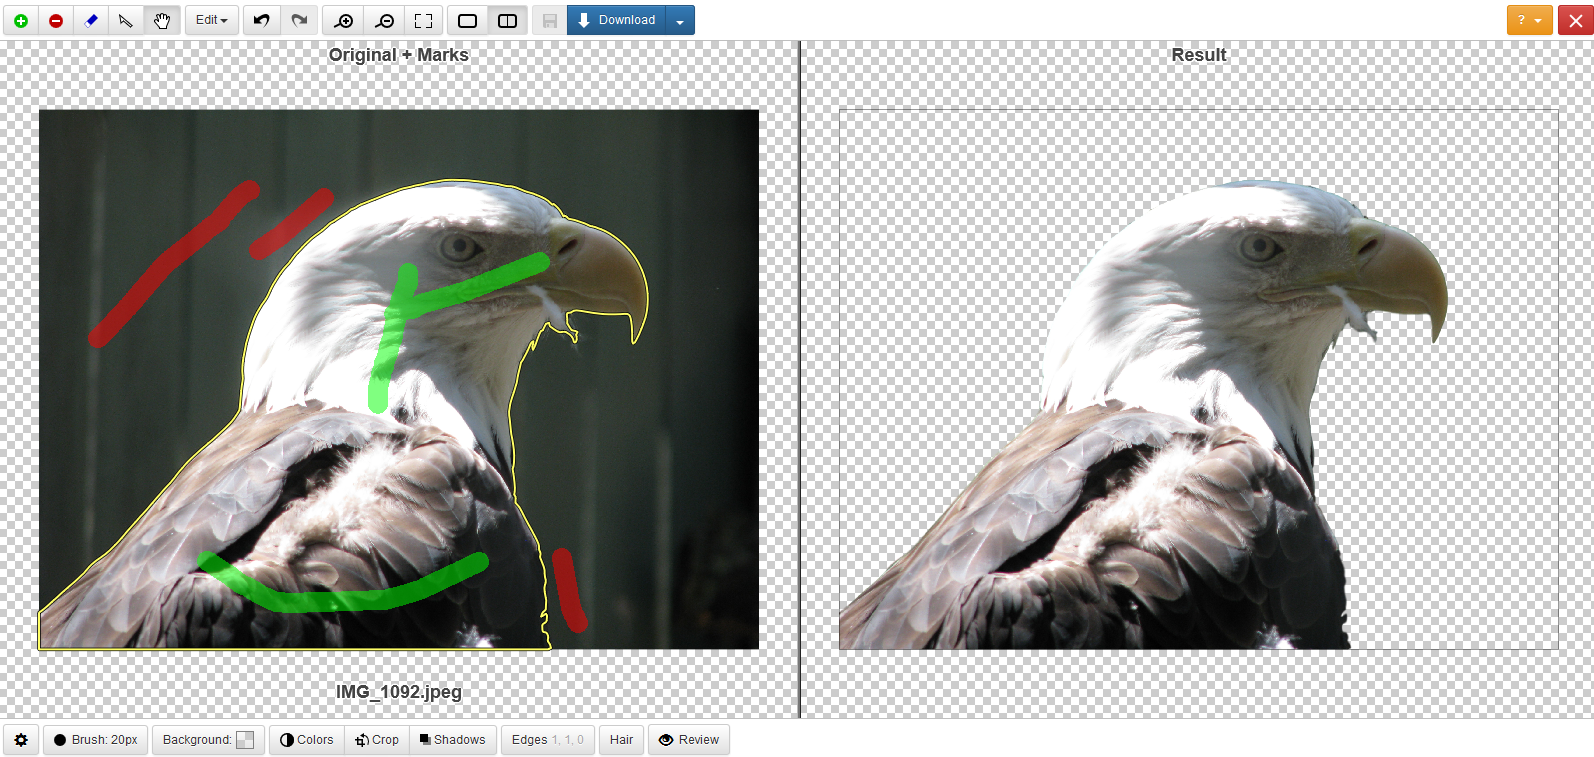
Clipping Magic in action.
If you do have Photoshop, learn how to use it well. Try following a tutorial like this one:
Once you master the art of removing backgrounds, you’ll have one requirement down! But, you’ll have to know more than how to take pictures with a white background for Amazon to accept your images.
Create Professional Lighting and a Solid Backdrop
Amazon requires professional lighting and no shadows. How can you do that?
For small products, nothing beats a lightbox for creating a natural white backdrop and even, soft white lighting. You can create your own or just buy one on Amazon for about $15 to $150. Combine it with pure white lights shining through the cloth walls and you should get a photo with few to no shadows.
Larger products won’t fit in a lightbox and generally need multiple sources of soft light. Softboxes, for example, can create the kind of diffuse lighting that you need to eliminate shadows and glare. With a few to provide even lighting from different angles, you’ll have lightbox lighting without the size constraints.
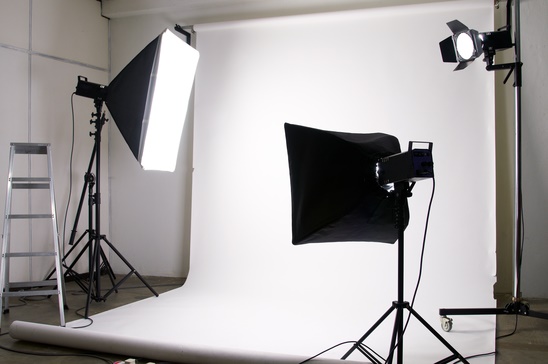
You will also need a large backdrop. White muslin cloth works best for a natural white backdrop, but note that even with a pure white background and professional lighting you won’t necessarily get RGB 255, 255, 255 when the image is uploaded to your computer. Many photographers prefer to use a green background instead—if it contrasts strongly with the product, it’s easier to remove digitally.
Fill the Frame
The entire product must appear in the photo, and it should take up 85% or more of the frame.
Of course, this isn’t always possible. A standard knife, for example, can’t take up 85% of a rectangular frame—it’s too long and thin.
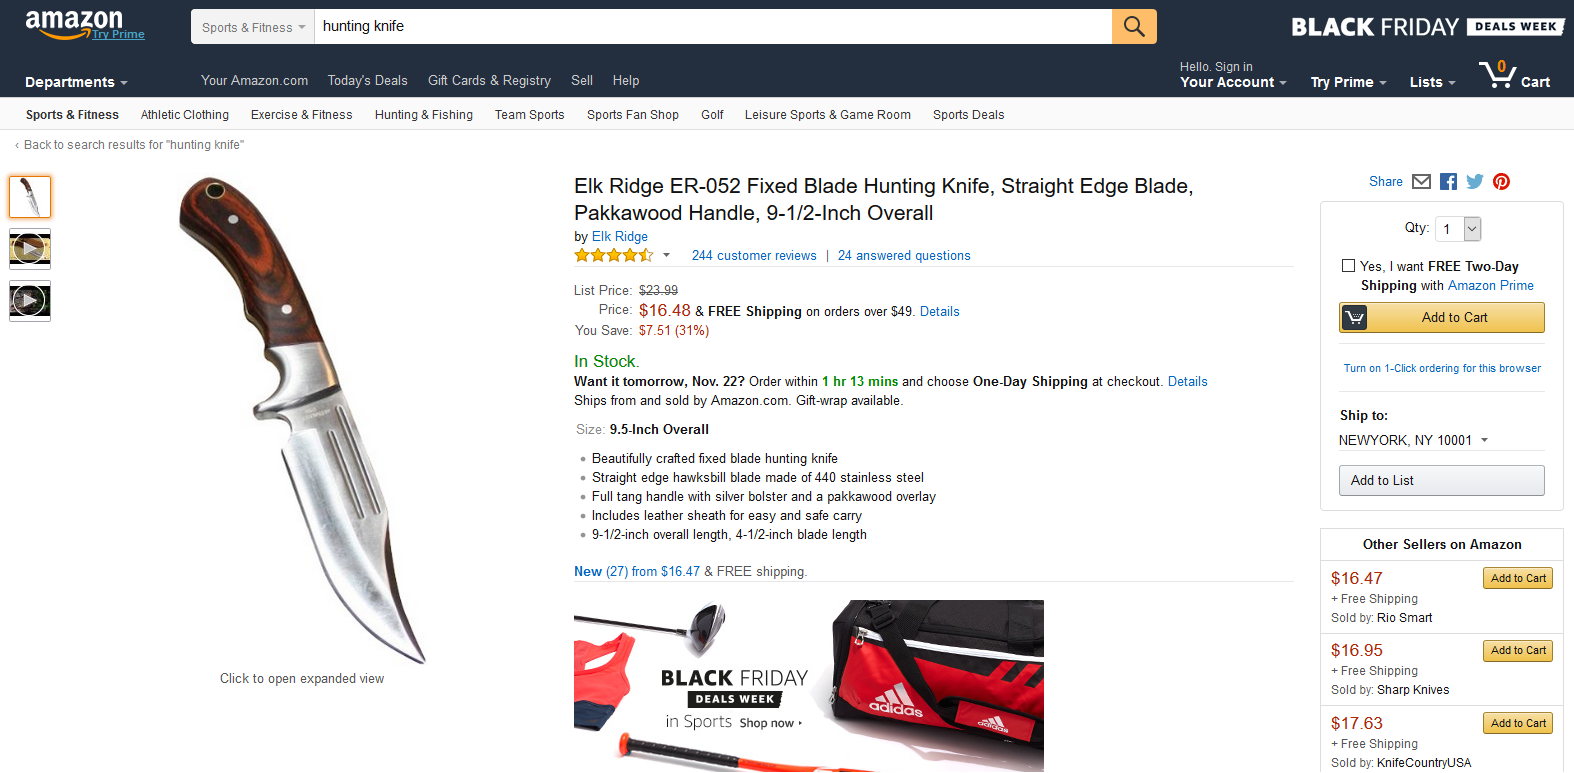
Amazon will most likely forgive you as long as you crop the image close and show the full item. If it’s possible for your image to take up 85% of the frame, make sure you do so.
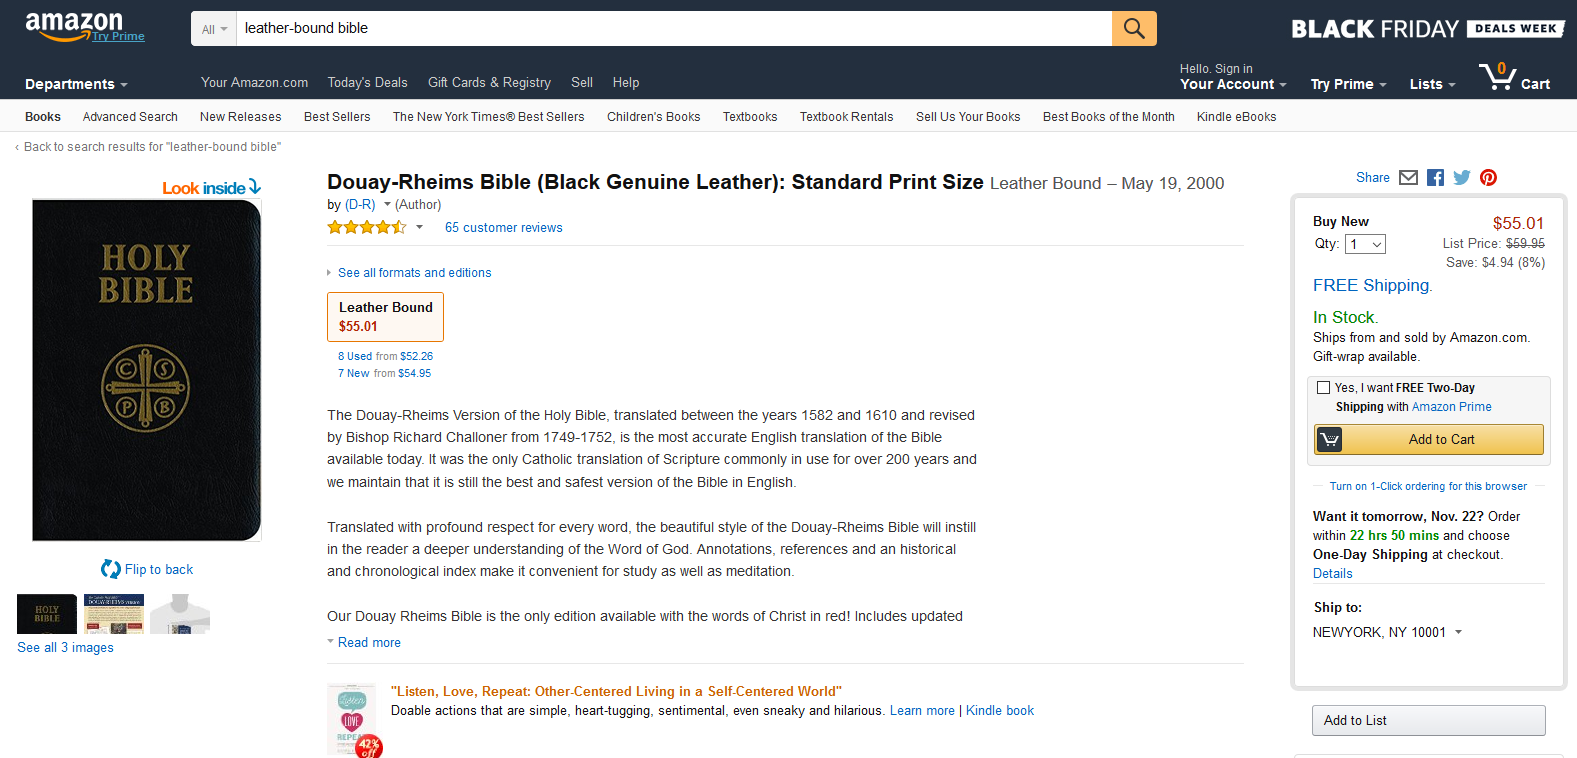
Note that music, video, and book photos must show the front cover art and have it take up 100% of the image. However, you can usually get away with a little bit of pure white background if you have, say, a book with an unusual cover shape that won’t fit in a standard image—such as the rounded corners on this leather Bible.
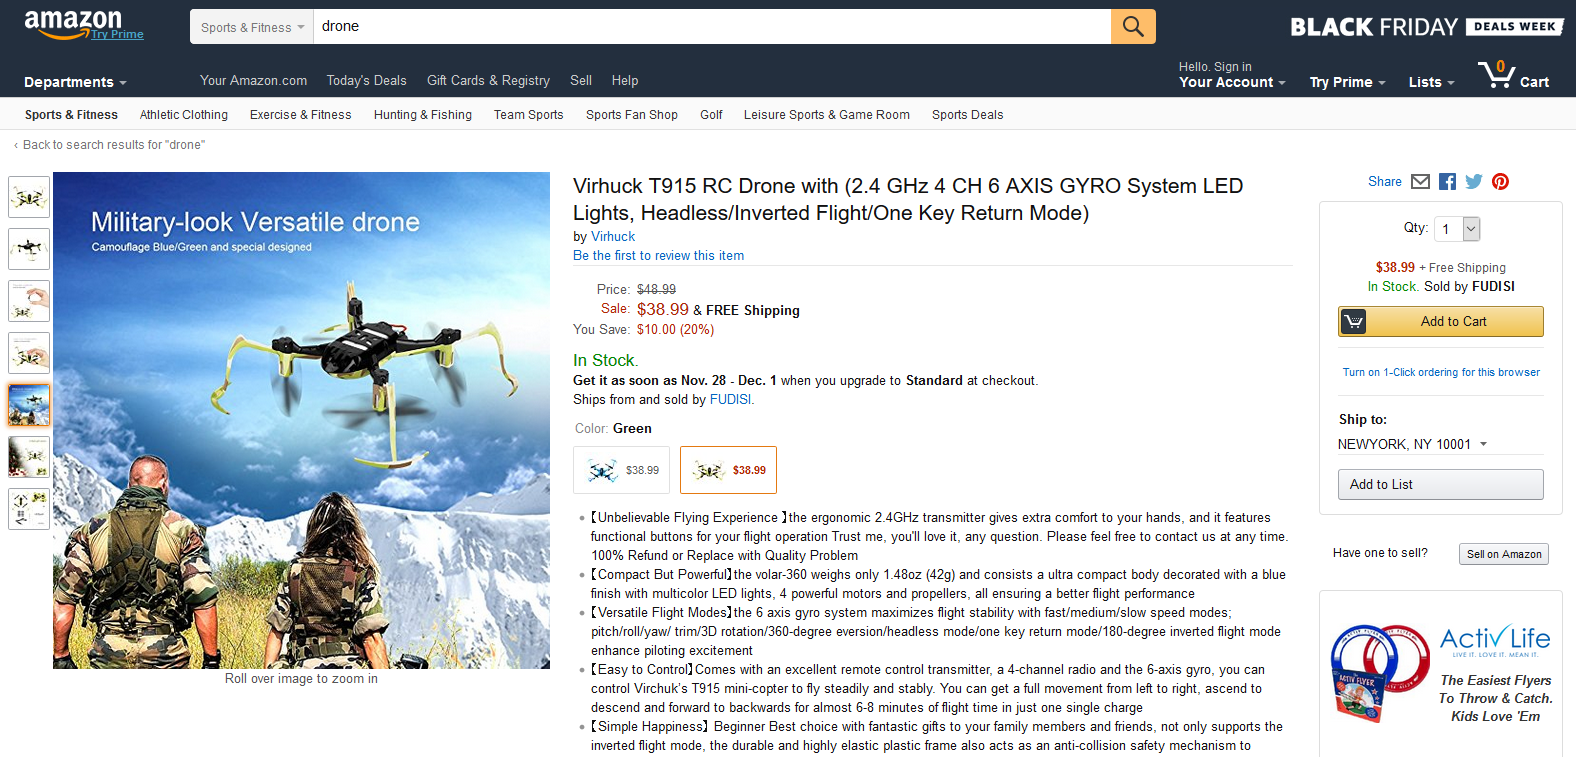
Don’t Fill the Photo with Junk!
Your main photo should only show items that are being sold as part of the package. Don’t add props, or any other items that make it difficult to understand exactly what’s being sold. The photo should just be the item(s) you’re selling against a pure white background.
That goes for after you upload the photo to your computer, too. Don’t add any graphics or text, or try to do any fancy photomanipulations. The main photo should only show the product.
Learn How to Take Great Product Photos in General
I’ve focused on tips specific to product photography for Amazon here. However, if you don’t have much experience taking photos, I recommend you read our article on how to take photos for eBay. You’ll find tips on avoiding camera shake, pixelation, and other common problems.
How to Take Photos for Amazon’s Other View Images
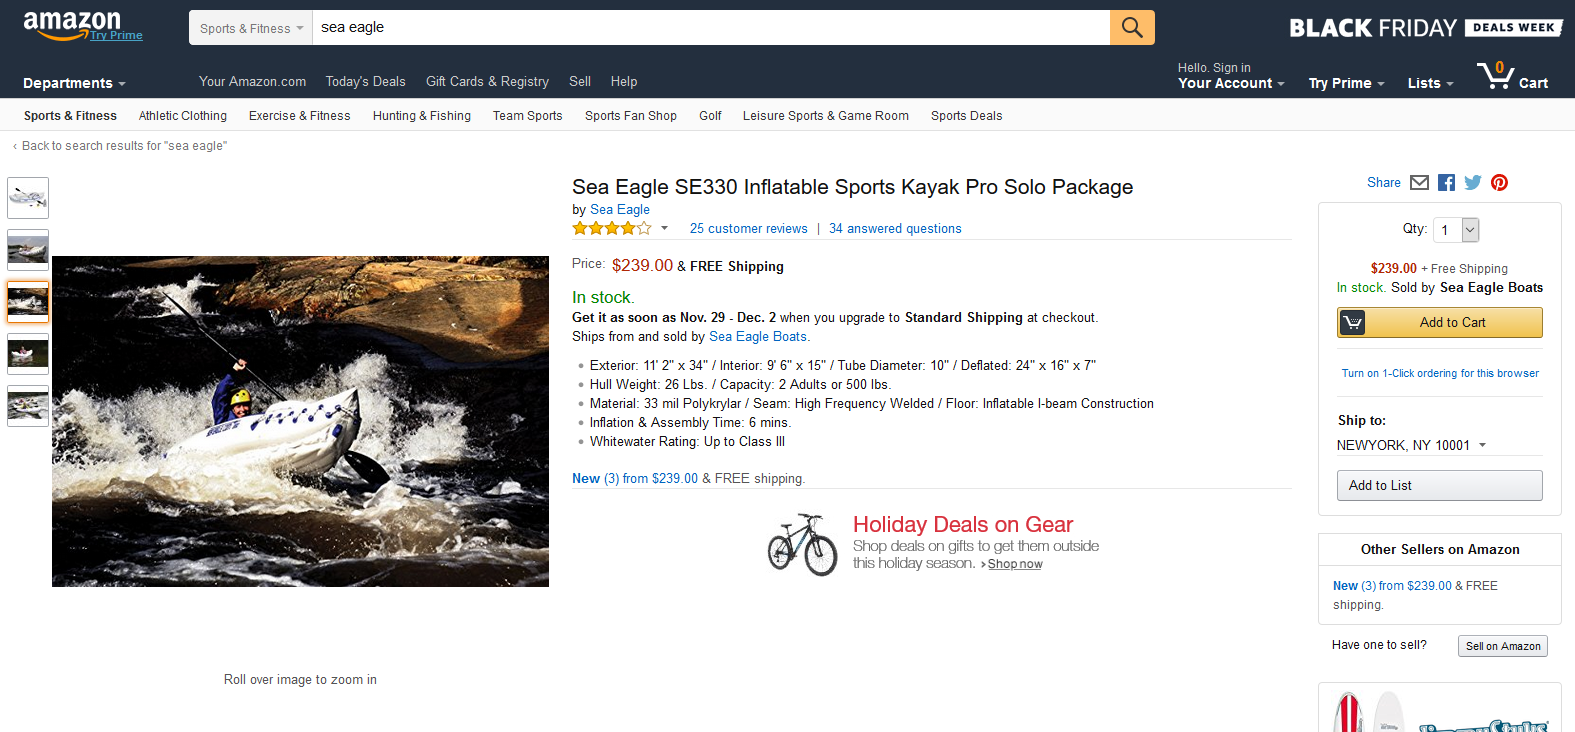
Amazon gives you much more freedom and flexibility with the “other view images” than with the main image. You can include graphics, text, backgrounds, environments, props, and other items.
It’s a great idea to show the details of your product here. A picture is worth a thousand words, and if you show every detail of your product, you won’t have to spend nearly as much time writing descriptions and answering questions—or lose nearly as many sales to customers who don’t bother to read or ask.
Think about the questions you would ask as a customer. Then answer those questions with your photos. For example, can you take your inflatable kayaks through whitewater?
Just keep in mind that the image must be of professional quality. If taken indoors, it needs professional lighting, and if taken outdoors, it should be in bright (not glaring) daylight. Be sure to use a tripod or other stabilizer for your camera.
What Else Do I Need to Know to Create a Great Amazon Listing?
These Amazon seller tips can help you take your photos up a notch beyond just meeting the requirements—and they can help with writing your descriptions, too. I also recommend that you create an Amazon SEO strategy before writing your listing description. It can make a huge difference for your sales down the road!
Know anybody else who needs to learn about product photography for Amazon? Just use the buttons below to share this article with them on Facebook or Twitter. We're sure they’ll appreciate it as much as we will!
