


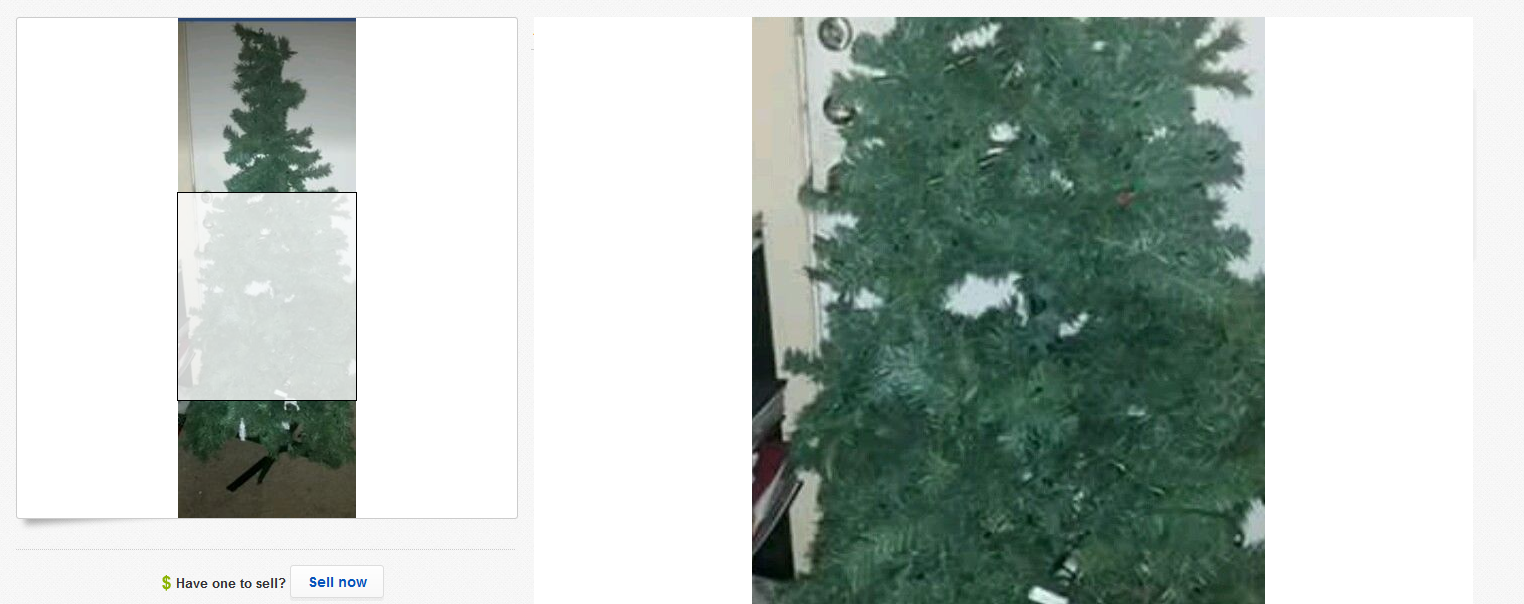
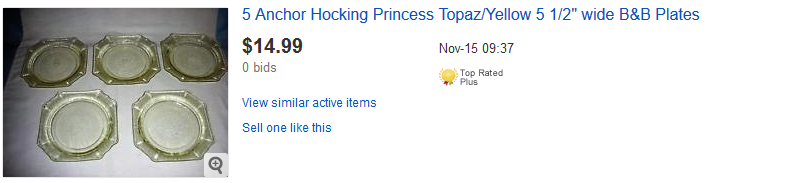
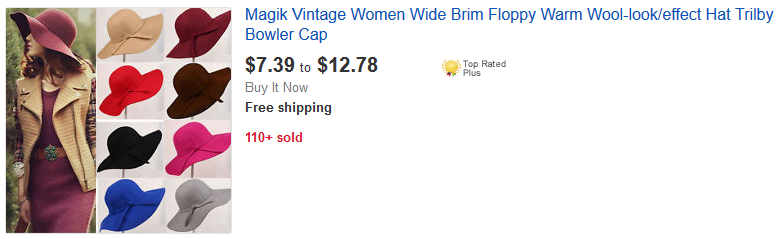
Understanding how to take photos for eBay can make all the difference between a sale and a flop. Let me prove it to you. Here’s an item that didn’t sell:
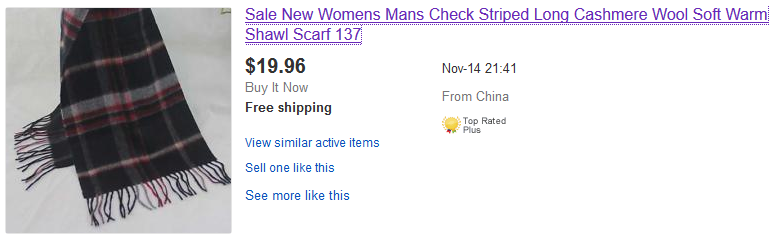
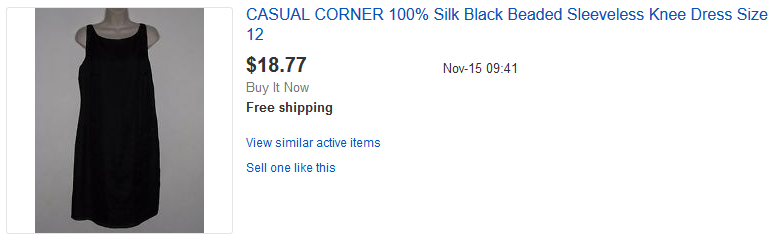
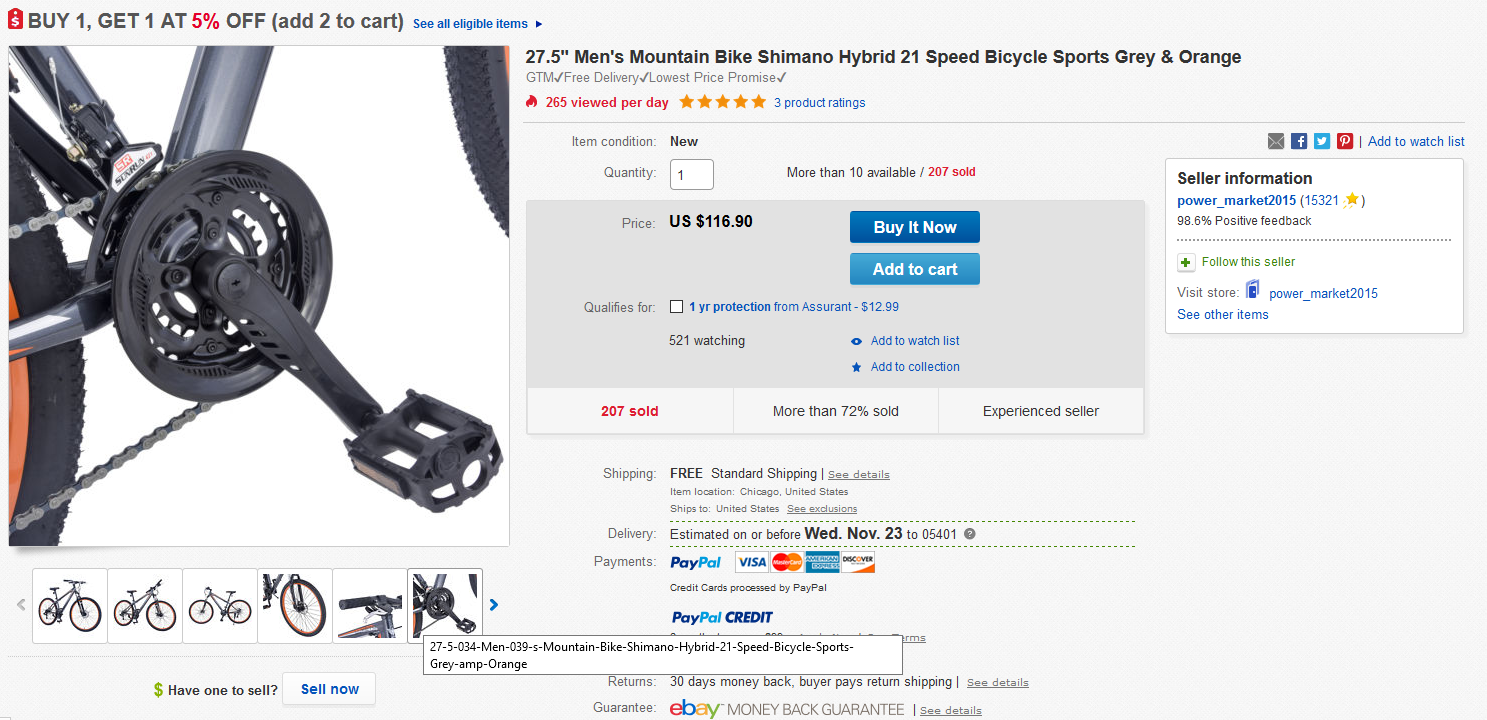
And here’s one that did sell:

Notice the difference in image quality? You might not know exactly why just yet, but you can probably tell that the photo of the one that did sell is just plain better.
By the end of this article, you’ll be able to dissect the difference and take photos just as good as the one that sold—if not better. Let’s get started with some eBay photo tips:
Last updated 7/11/2018.
1. Avoid Camera Shake
The first step to taking a great picture is to keep the camera steady. You’re not filming a horror movie!
Even the tiniest bit of shaking can cause most cameras to take blurry photos. And trust me—your hands will be doing at least the tiniest bit of shaking. So, the ideal solution is to take your hands out of the action completely.
This is best done with a tripod. One that’s adjustable to different heights and angles is ideal, as it will help you work with different product sizes and shapes. If you can’t afford one yet or your current one won’t cooperate with the product, then do your best to prop up your camera in a stable position, such as on the edge of a sturdy table.
Note that just putting your camera somewhere stable doesn’t stop your hands from ruining the shot. Even pushing the button can cause some shaking at the last moment.
Use a timer so your hands are nowhere near the camera when it shoots. Set its timer for three seconds or so, line it up for the perfect photo, and then hit the button. Let go of the camera completely and stand still—don’t go stomping to the other side of the room or you’ll just make the camera shake anyway.
2. Make Sure the Picture’s Big Enough
Wow, look at the detail on those . . . pixels!
Tiny or pixelated images do nothing to sell your products. Make sure you meet the resolution requirements—eBay requires photos to have at least 500 pixels on the longest side and can display images up to 1600 pixels long.
You should always try to get those 1600 pixels whenever possible to get the maximum quality. In the interest of minimizing loading time, you might want to shrink it or crop it before uploading it to eBay, but don’t limit yourself when taking the photo. Make sure your camera or phone is taking photos that are at least 1600 pixels in one dimension, and send the full-sized files to your computer for editing.
3. Set up a Clean Background
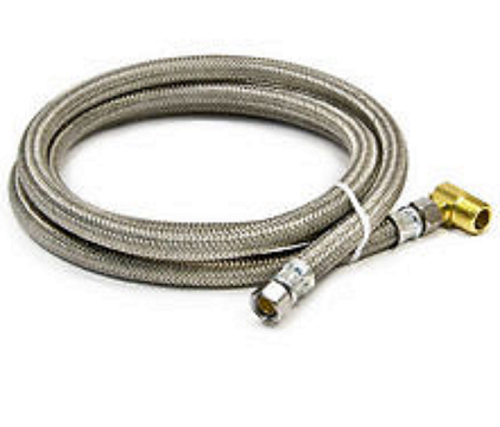
Plumbing equipment never looked so good.
Virtually everything looks better against a snow-white background. A clean, evenly painted wall, a bit of posterboard, a large sheet of paper, or a 100% wrinkle-free white cloth can do the trick.
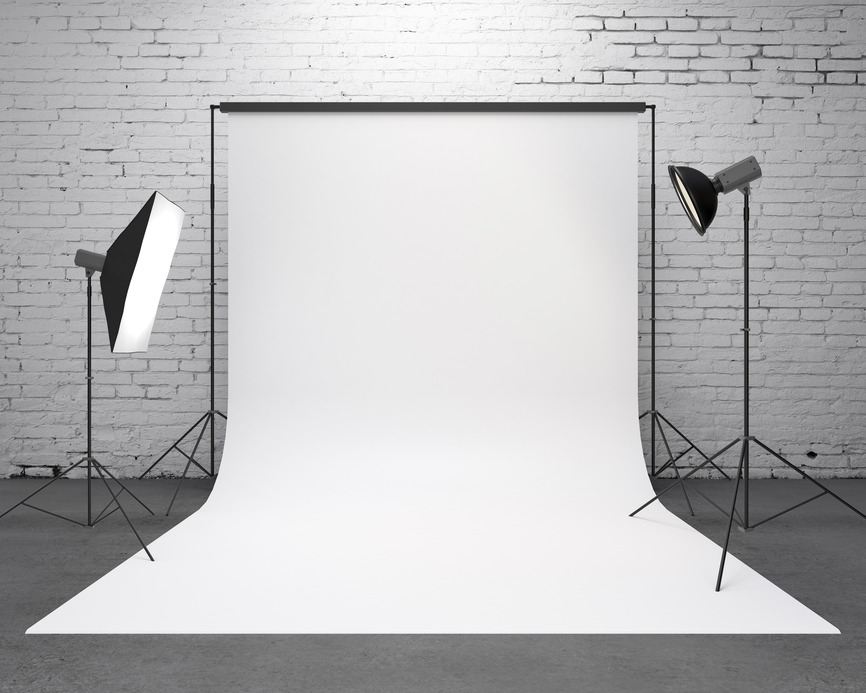
If you have the time and materials, you should either buy or create a lightbox. This will solve your problems with both background and lighting.
Unlike Amazon, eBay doesn’t require you to have a white background. They actually suggest using black backgrounds for highly reflective items in this PDF.
Some photographers also like to use a simple but attractive and unusual background. Anything that has a matte color might work, such as some varieties of wood, stone, or leather, or just paper or cloth with a solid color. Just make sure it doesn’t cast shadows and won’t confuse anyone as to what they’d be buying.
Obviously, this can’t be achieved with every item out there. You’ll have something in the background if you’re selling cars on eBay and don’t own a showroom. Just try to keep it simple and non-distracting.
4. Find or Create Even Lighting
The best lighting for eBay photos is soft and white with few or no shadows. Here are some things you don’t want:
1. Glare.

2. Shadows.
3. Noticeably yellow, blue, or otherwise tinted lighting.
The fastest way to create most of these problems is to use a flash. You’ll almost inevitably get deep shadows, plus glare off any remotely reflective surface.
To get even, soft white lighting for large items, you can take photos outside in an open area on a sunny day. Aim for the morning or afternoon. Avoid high noon, when there’s likely to be glare from the bright light, as well as sunrise and sunset, when you’ll get all kinds of crazy shadows and colors.
You can also take photos near a well-positioned window following the same principles.
However, a lightbox or light tent will be your best bet for smaller things. As mentioned above, you can make your own with minimum expense and the craft skills of a kid at summer camp. You can also just buy one on eBay for about $20.
Be sure to buy lights that produce white light. On top of that, it’s usually a good idea to use the Auto White Balance feature available on most digital cameras.
With a good lightbox and quality white light, you can get that perfect product photo: the item apparently floating in pure white space.
5. Eliminate Clutter
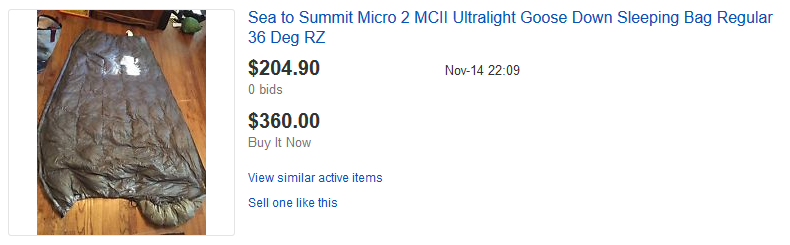
Hopefully, you got all the clutter out of the image by setting up a clean background. But if you didn’t, now is the time to do so.
Get rid of any distractions. Don’t add props or other items that aren’t being sold as part of the deal, unless they’re included to demonstrate scale (such as a coin next to a piece of jewelry).
If you can’t eliminate stuff in the background, just minimize it as much as possible. Say you’re taking a photo of your car outside. Try to avoid the collapsing garage with the mildewed sofa out front, and angle your camera toward the woods or street instead.
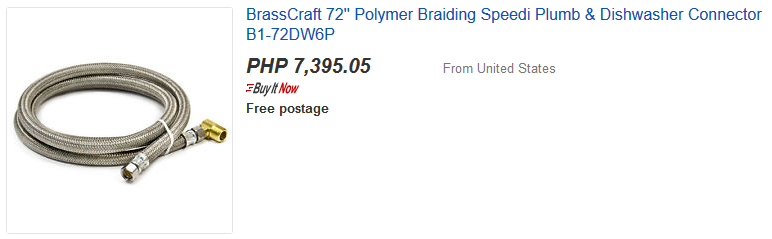
6. Take Up All the Space
Don’t show the item way off in the distance. If it’s far away, visitors will have a harder time seeing the detail, especially on your gallery photo when they’re browsing the listings.

Take up as much of the image as possible so there’s just a bit of white space around the edges. That doesn’t mean you have to shove your camera right up against the item—simply take the photo at a high resolution, then crop the unnecessary blank space.

7. Get Every Angle
You want your gallery image to be from the most flattering angle possible. But with your other images, you want to capture every detail.
You can upload up to 12 images with each listing and you virtually always should. Capture your product from the front, the back, the sides, below, and above. Show the interior when it makes sense to do so, plus close-ups of any important parts.
It’s crucial to include any flaws or damage if you’re selling a used item. Otherwise, you’re likely to end up with a complaint that the item was not as described—and that can lead to an eBay chargeback.
8. Follow eBay’s Requirements
eBay has a number of requirements and restrictions for images. For example, you can’t add a border to your photo, or any sort of text or artwork. Read their rules for images here.
9. Show the Item at Its Best
Don’t just plop the item in a lightbox if it looks dead there. If you’re selling clothing or accessories, they’re generally best off on an attractive model or a mannequin.
Finally, make sure the item’s clean. Nobody wants to buy anything covered in dirt, dust, or visible fingerprints.
Now That I Know How to Take Photos for eBay, What Else Can I Do to Boost My Profits?
Knowing how to take photos for eBay can make a huge difference in sales, but there’s a lot more to being a successful seller! “Selling on eBay for Beginners” and “eBay Business Models” are great places to start. If you’re a more advanced seller, learn how to dominate the Cassini search engine or master eBay email management.
